01. A Simple Player
Using Unity 2021.3.33f1 and Visual Scripting 1.8.0. The project is using the 2D Core template.

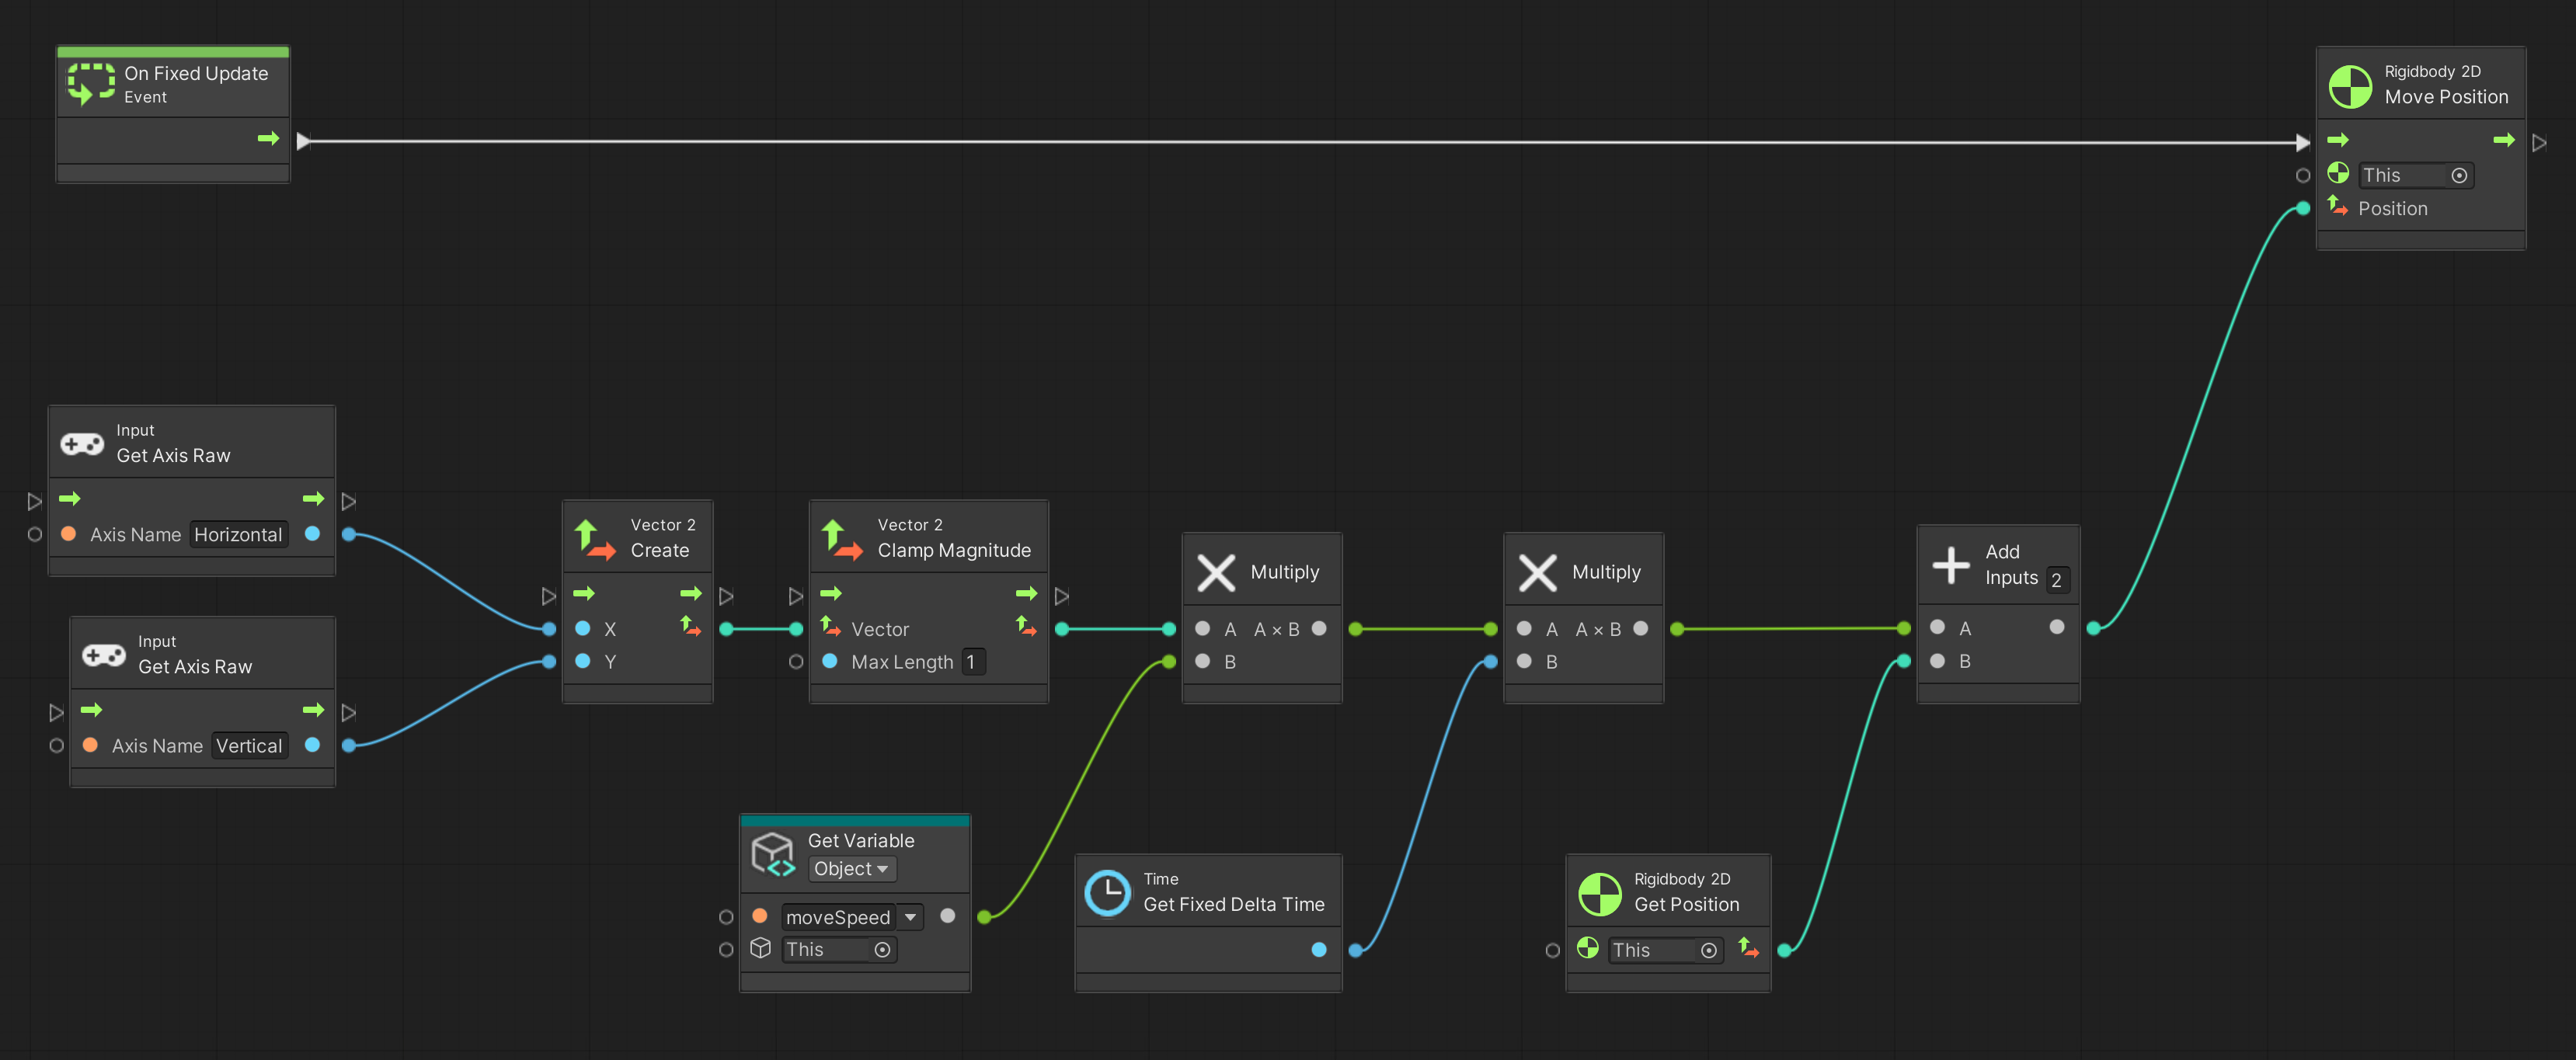
This example demonstrates a simple 2D player character that can be moved up, down, left and right. The player is using a rigid body so that it can collide with walls and other objects.
See the visual script version: 01. A Simple Player
Getting started
In my view, learning to write code is best accomplished by actually writing code. Therefore I recommend that you type out everything, rather than copy/paste the code from here.
If you have completed A Simple Puzzle Game you can begin by making a copy of the first scene - the one that starts at example 01 ends at 07. Then delete all Script Machine and Variables components from all game objects.
Alternatively, you can download this project: Visual Scripting to C-Sharp - Starter Pack.zip, where I have prepared some scenes without any scripts attached. Start by opening the scene in Scenes > C-Sharp > Examples_01_07_Begin.
Making the player script
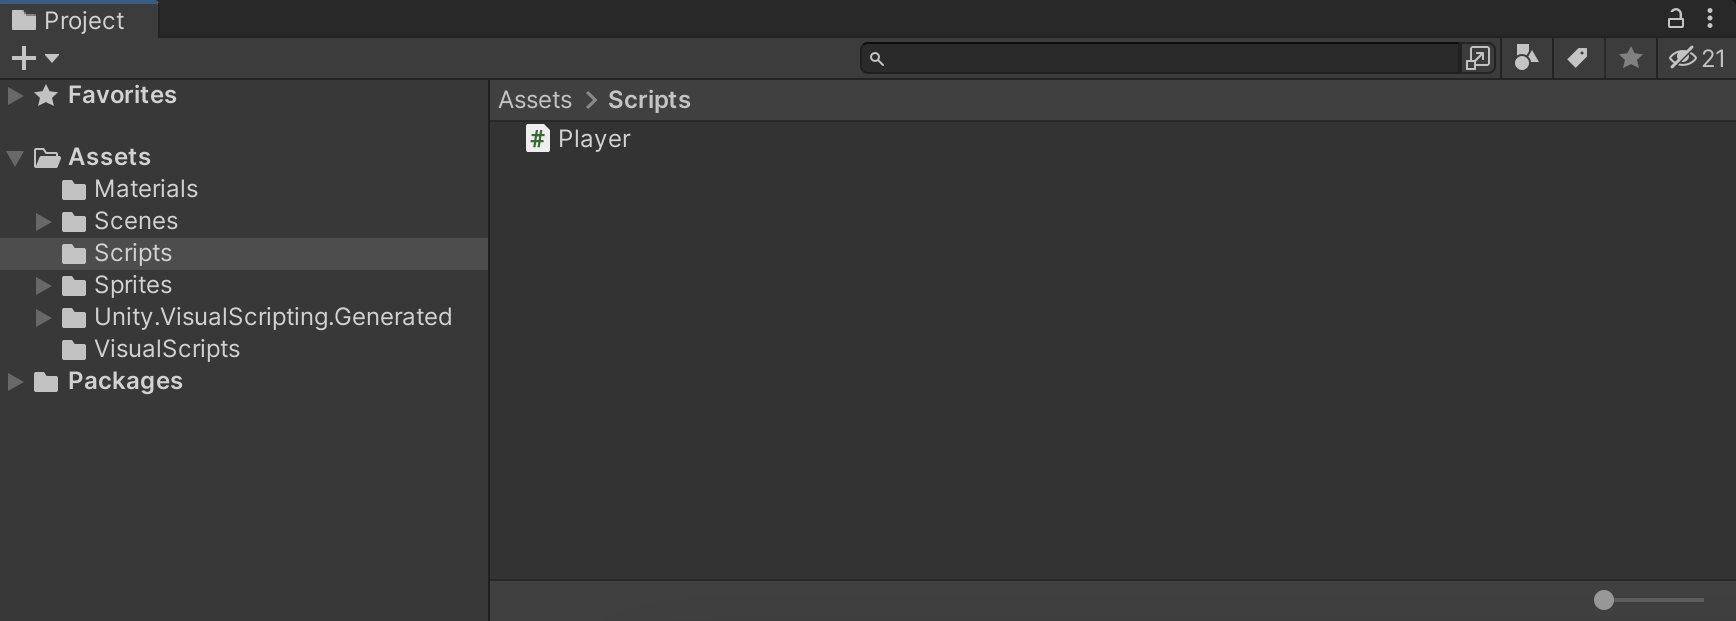
Create a new C# script and name it Player. If you’re coming from 00. First Script you can just open up that script. Move the script file to a folder called Scripts, and assign it to the game object called Player.
Notice how we used the On Fixed Update event in the visual script? Remember, we generally want to use On Fixed Update when working with physics and rigid bodies. In C#, we can use the FixedUpdate() method that is part of Unity to do the same:
1
2
3
4
5
6
7
8
9
10
11
using System.Collections;
using System.Collections.Generic;
using UnityEngine;

public class Player : MonoBehaviour
{
    private void FixedUpdate()
    {
        // This is the same as the On Fixed Update event in Visual Scripting.
    }
}
Reading input
The first thing we did in the visual script, was to get some input from the keyboard or a game controller. We used the Input: Get Axis Raw node with a value of Horizontal and Vertical. So let’s do the same in our script!
1
2
3
4
5
private void FixedUpdate()
{
    Input.GetAxisRaw("Horizontal");
    Input.GetAxisRaw("Vertical");
}
Input is the name of the class that contains the GetAxisRaw() method. The dot notation . is used to access a method of a class.
The method takes a parameter, that is, some input it needs to perform its task. The "Horizontal" and "Vertical" parameters are a type of data we call string. A string is just a series of characters - in other words: text! A string must always be surrounded by quotation marks "".
The GetAxisRaw() method returns a number between -1 and 1. More specifically, it returns a float - a number with decimals. The word returns means that when the computer executes the method, the output or result of that method is some data.
The calculator analogy
You can think of a method like a calculator. You input some numbers (the parameters). The calculator then does some processing and outputs a result (the data returned).
Let’s save the data in some variables! First, we make or declare a new variable. To declare a variable, we must first provide a data type: float. Then a name: x. We then assign some value to our variable using the = symbol. The value we assign is the data returned from GetAxisRaw(). The complete statement then looks like this:
1
float x = Input.GetAxisRaw("Horizontal");
What is the meaning of the equals symbol?
In programming,
=is known as the assignment operator. It assigns the value on the right side to the variable on the left side. For example:
After reading our input, we declare a variable called inputVector and read the data stored in x and y. This variable is a special Unity type called Vector2 that should be used as a 2D vector.
1
2
3
4
5
6
7
private void FixedUpdate()
{
    float x = Input.GetAxisRaw("Horizontal");
    float y = Input.GetAxisRaw("Vertical");

    Vector2 inputVector = new Vector2(x, y);
}
What is a vector?
A vector is a mathematical representation that can be used to express a direction, a force, or a point in space. Vectors can be 2D, 3D, or even more dimensions, but for our purposes we will mostly use 2D and 3D vectors.
The simplest way to picture it, is as an arrow with a certain length. The arrow points in some direction and with a certain distance. When we use vectors to represent movement, the direction of the “arrow” tells us which way we are going, and the length of the “arrow” tells us how fast or how far.
Exposing variables in Unity
Now that we have our input, we want to scale it by some value in order to make our player move faster or slower.
In Unity, we can expose variables in our class. This lets us adjust their value directly in Unity, without changing our code.
The simplest way to expose a variable, is by declaring it as public like so:
1
2
3
4
5
6
public class Player : MonoBehaviour
{
    public float moveSpeed = 1f;

    // The rest of our class...
}
We have assigned a default value of 1f, but from this point forward, whatever value we set in Unity will take priority. If you look at our Player component in Unity’s Inspector, you will see the moveSpeed variable appear:

Doing the math
In our visual script, we perform a bit of math, before moving our rigid body. We can do the same in our code:
1
2
3
4
5
6
7
8
9
10
private void FixedUpdate()
{
    float x = Input.GetAxisRaw("Horizontal");
    float y = Input.GetAxisRaw("Vertical");

    Vector2 inputVector = new Vector2(x, y);
    inputVector = Vector2.ClampMagnitude(inputVector, 1f);

    Vector2 moveVector = inputVector * (moveSpeed * Time.fixedDeltaTime);
}
We clamp the inputVector to ensure its length does not exceed 1. Otherwise, the player would move faster when going diagonally!
What is clamping?
Clamping the magnitude of the vector, means that we limit its length. The
ClampMagnitude()method requires two parameters. The first is theVector2we want to clamp, and the second parameter is the maximum length we want theVector2to have. The method then returns a new vector that is no longer than what we have specified.
Then, we create a new vector, moveVector, where we multiply our input with the moveSpeed. Since frame-rates can vary, we must multiply this with Time.fixedDeltaTime to achieve an even movement over time, independent from frame-rate.
What is delta time?
Delta time is the amount of time in seconds, that has passed between two frame updates. For a game that runs 60 frames per second, the delta time is
1 / 60 = 0.01667 sec.or roughly 16 ms.When using
FixedUpdate()we must useTime.fixedDeltaTimewhereas when usingUpdate()orLateUpdate(), we must instead useTime.deltaTime.
Moving the rigid body
The last thing we need to do, is to our rigid body. We can do this by first getting hold of the Rigidbody2D component on our player game object, and then call the appropriate method.
1
2
Rigidbody2D rigidbody = GetComponent<Rigidbody2D>();
rigidbody.MovePosition(rigidbody.position + moveVector);
Calling GetComponent<>() every frame is bad for performance, so we can do it once in the Start() method and save the reference in a variable.
Our final script now looks like this:
1
2
3
4
5
6
7
8
9
10
11
12
13
14
15
16
17
18
19
20
21
22
23
24
25
26
27
28
29
30
using System.Collections;
using System.Collections.Generic;
using UnityEngine;

public class Player : MonoBehaviour
{
    public float moveSpeed = 1f;

    // Declare a variable in the class
    private Rigidbody2D _rigidbody;

    private void Start()
    {
        // Get a reference to the Rigidbody2D component and assign it to the variable
        _rigidbody = GetComponent<Rigidbody2D>();
    }

    private void FixedUpdate()
    {
        float x = Input.GetAxisRaw("Horizontal");
        float y = Input.GetAxisRaw("Vertical");

        Vector2 inputVector = new Vector2(x, y);
        inputVector = Vector2.ClampMagnitude(inputVector, 1f);

        Vector2 moveVector = inputVector * (moveSpeed * Time.fixedDeltaTime);

        _rigidbody.MovePosition(_rigidbody.position + moveVector);
    }
}